
Story at a glance:
- Before installation confirm you are working with a shower door that will fit your enclosure and blocking that will support its weight.
- Install your shower door properly to ensure the safety of users and to maintain the product for years to come.
- Working with high-quality tools during installation can make for a smoother process with better final results.
For more than 100 years the process of tempering glass to create a stronger and safer product has evolved in the homeowner’s favor. A quality glass shower door installed today is likely to last a home generations while increasing the resale value.
In 1977 Basco was the first in the shower door industry to mandate tempered safety glass for all products. Today the company continues to be the leading producer in the field—known for strong safety features and a wide range of customizable products.
“If they can build a shower we can come up with a shower door to fit that,” says JR Grau, Basco’s vice president of national glass sales.
Finding the right piece to fit your project’s needs is only the first step. Installing the door properly is crucial, as it will ensure safety for users and longevity of the product.
We spoke with Grau on what to consider when it comes to creating a smoother installation process and avoiding any future problems.
Take Accurate Measurements
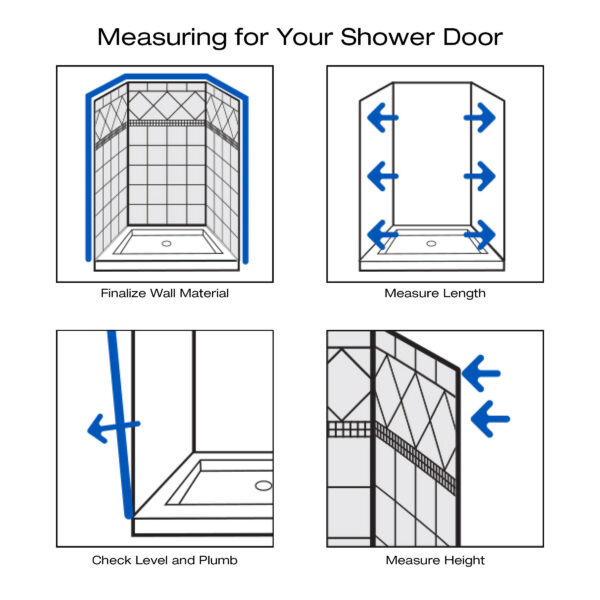
Image courtesy of Basco
Ensure you are working with the right product to set your installation project up for success. Before purchasing the shower door, you will have taken measurements of the shower’s opening across the bottom, center, and top. Remember that a customized or heavy glass door may require measurements down to one-sixteenth of an inch.
You must also consider if your threshold is not level or your shower walls are out of plumb. If you are not aware of these details, the shower door you are working with potentially won’t fit, and the final product may not turn out as planned.
Verify ahead of time if the width of your threshold works for the door you’re working with. “If you have a fiberglass or acrylic enclosure, your thresholds might only be 2 inches wide,” Grau says. “Some shower doors have tracks that are up to 3 inches.”
Consider that if the threshold slopes out, rather than into the shower, a frameless door may cause water to escape. A framed or semi frameless door with a full width and wall to wall track would solve this problem.
Basco framed and semi-frameless bypass doors come with stay-kleen and anti-jump tracks, so there are no channels for water to sit in, and the door won’t dislocate. The Infinity and Deluxe lines use a safety T-lock feature that is integrated into the top of the wall jamb and secures the header to keep the panels in place.
Be Aware of Surroundings
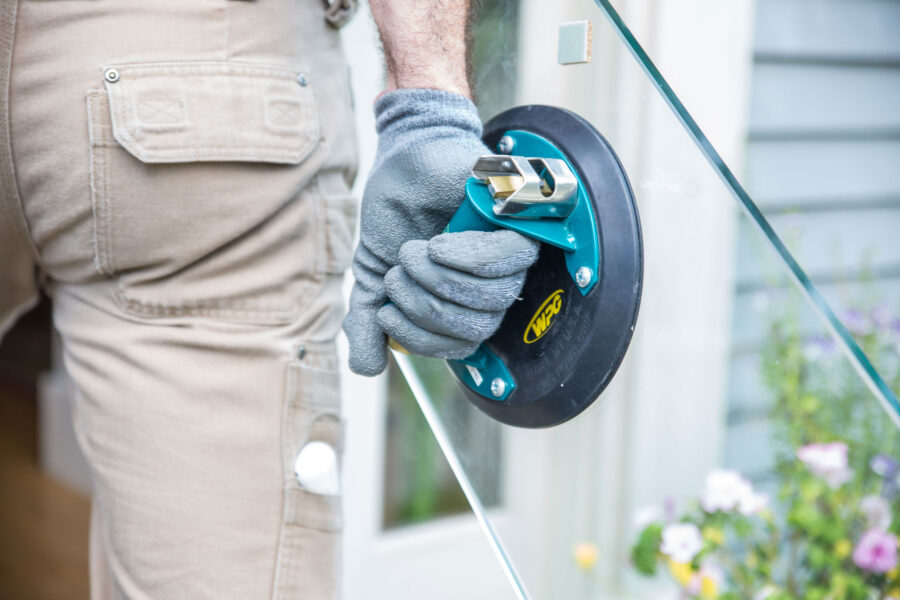
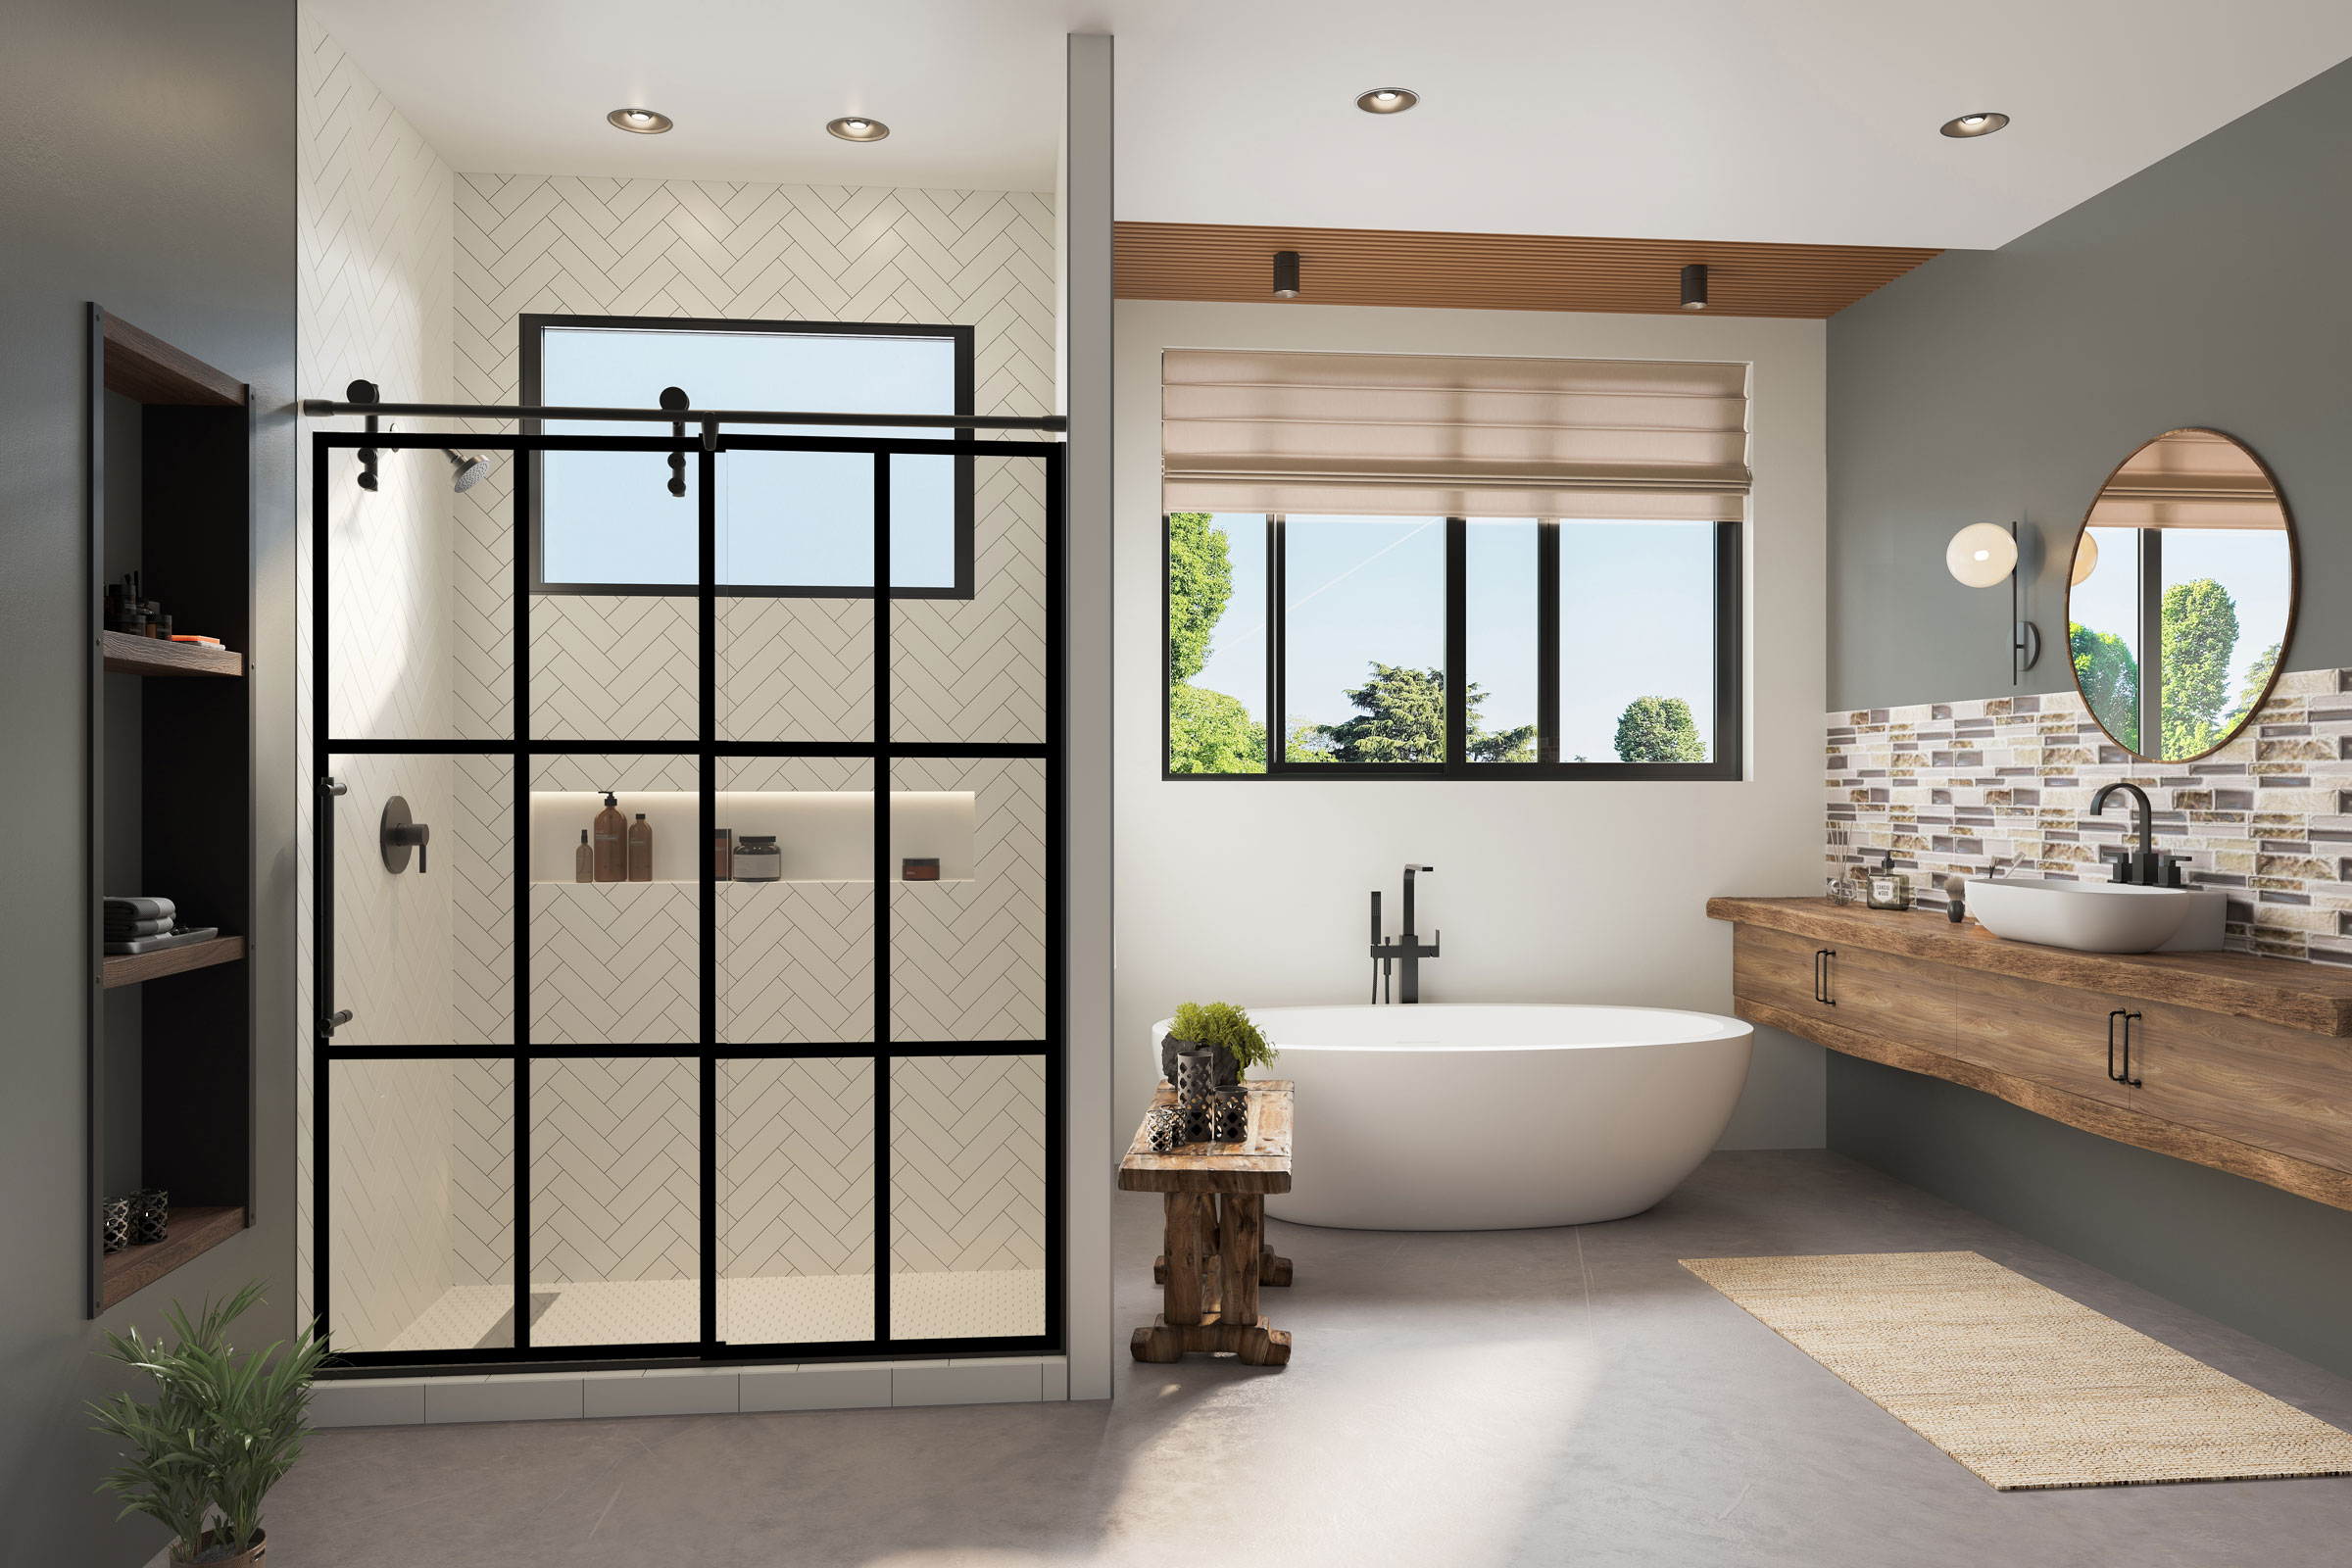
Photo by Ben Carmichael
A Basco shower door is seen here in a residential project. Photo by Ben Carmichael
Before you begin the installation process, you must orient yourself in the room. Check for potential obstructions, like a wall mounted towel bar or toilet location being an obstacle for proper operation.
It is recommended that the shower head and controls are opposite of the entry point. If you’re working with a shower that has many different body sprays, you might want to consider installing something from Basco’s framed or semi-frameless line.
“A frameless product doesn’t have a lot of vertical metal, so those sprays can hit directly into the door. You may have some water escaping,” Grau says.
For a heavier glass door, like from Basco’s RODA collection, confirm before starting installation that you are working with a solid surface with blocking behind the walls to support the extra weight. The manufacturer does not recommend using anchors or molly bolts; the screw should run directly into a two-by-four blocking. There should be blocking at any point where a mechanical fastener is used.
Additionally, be conscious during installation that you are protecting the product. “Make sure you don’t set the glass directly on the tile or floor, and do not lean it directly on the wall,” Grau says. “You can either damage the wall or damage your glass.”
While tempered glass is four times stronger, its weakest points are the corners. Bumping them on a tub, toilet, or anything else could damage the door. Grau recommends using cardboard or rolled carpet protect the bottom of the glass and the floor.
Have the Right Tools
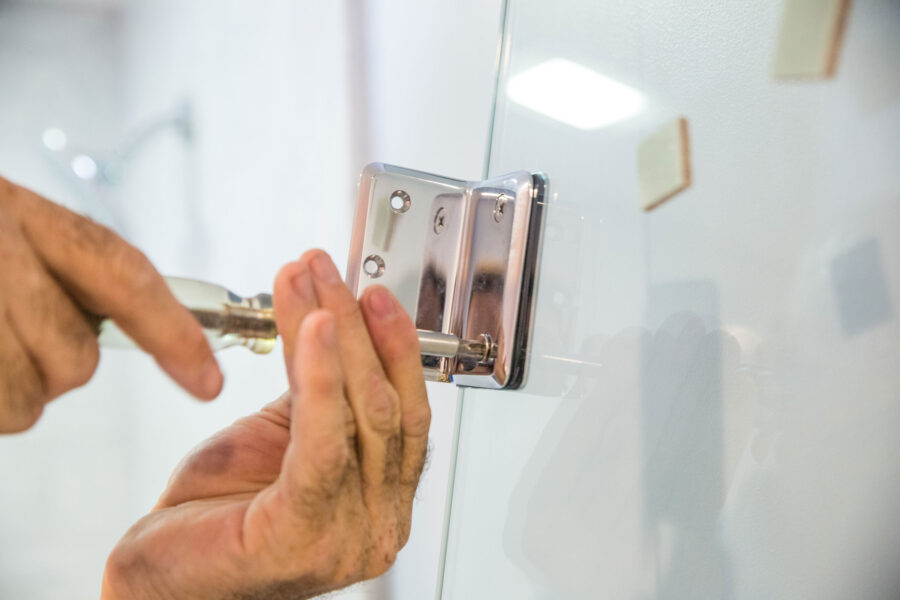
Having the right tools is critical for any shower install. Photo by Ben Carmichael
Necessary tools will vary based on the type of door you are installing. However, you can expect to use some tools regardless. First, ensure you have a quality level and tape measurer to get accurate results.
To install the door’s hinges, you will need a drill and drill bits to create holes. If you are working with porcelain or ceramic tile on the walls, Grau recommends using a higher quality bit to avoid frustration. This is also true for your sealant. You will use a clear silicone caulk to seal any fixed components in order to prevent future water leakage. A bad caulk gun with a poor flow can cause air bubbles. “Something as simple as a caulk gun can wipe out your whole job and ruin your installation.”
To attach hinges to the wall, you will need screws and anchors you know can support the door. For a heavier door, you can use suction cups specifically designed to help lift glass into place. Grau says to avoid low-cost products, as they cannot support the weight.
Bring a hacksaw and a pencil to the job as well. A hacksaw is used to cut your base track to the necessary length; it should fit tightly between both shower walls. A pencil will be used to mark positions along the way.
Finally, consult the specific installation guide included with your product for any additional tools necessary.