
Story at a glance:
- Even if tiles are said to be water-resistant, most allow water penetration to the substrate.
- A proper waterproofing layer is needed to keep water within designated areas.
- Tile shower waterproofing methods vary depending on needs.
Custom-tiled showers are a significant investment, making effective waterproofing essential to prevent water damage, mold, and structural issues. Despite some tiles being marketed as water-resistant, most tiles and grout allow water penetration to the substrate, necessitating a proper waterproofing layer to keep water within designated areas. Neglecting this can lead to expensive repairs, health hazards, and compromised building stability.
Moreover, sound waterproofing practices enhance environmental sustainability by reducing repair needs and supporting the use of sustainable materials, thereby lowering the construction industry’s environmental impact. It also supports the use of sustainable building materials, like recycled or LEED-certifiable products, which further minimizes the environmental footprint of construction activities.
Professionals in the field must thoroughly understand various waterproofing methods, their benefits and limitations, and best practices for installation to ensure durability and eco-friendliness.
Types of Tile Shower Waterproofing Methods
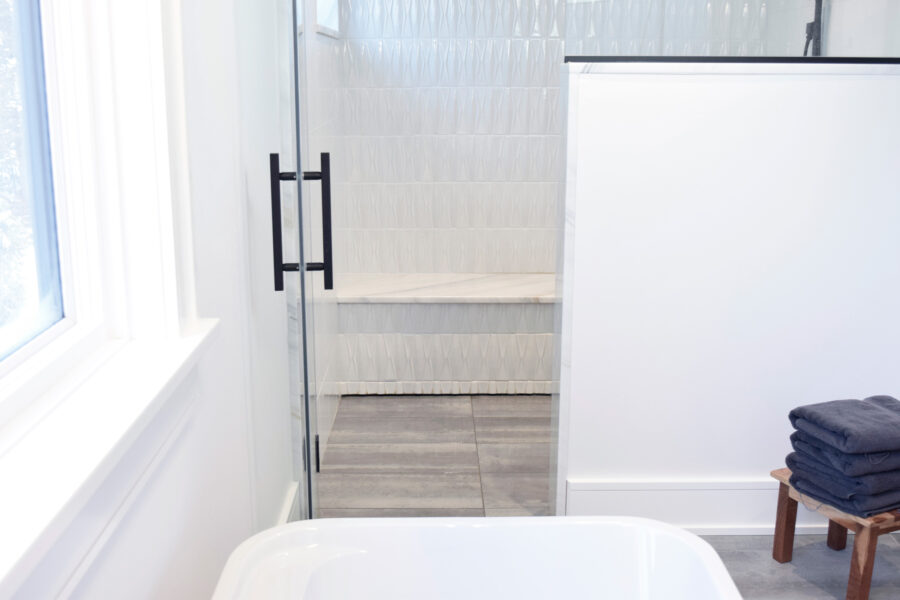
Photo courtesy of Oatey Co.
Three established products are used for waterproofing shower bases: sheet membrane, liquid-applied membrane, and foam board. These products can usually be combined in the same shower for enhanced protection.
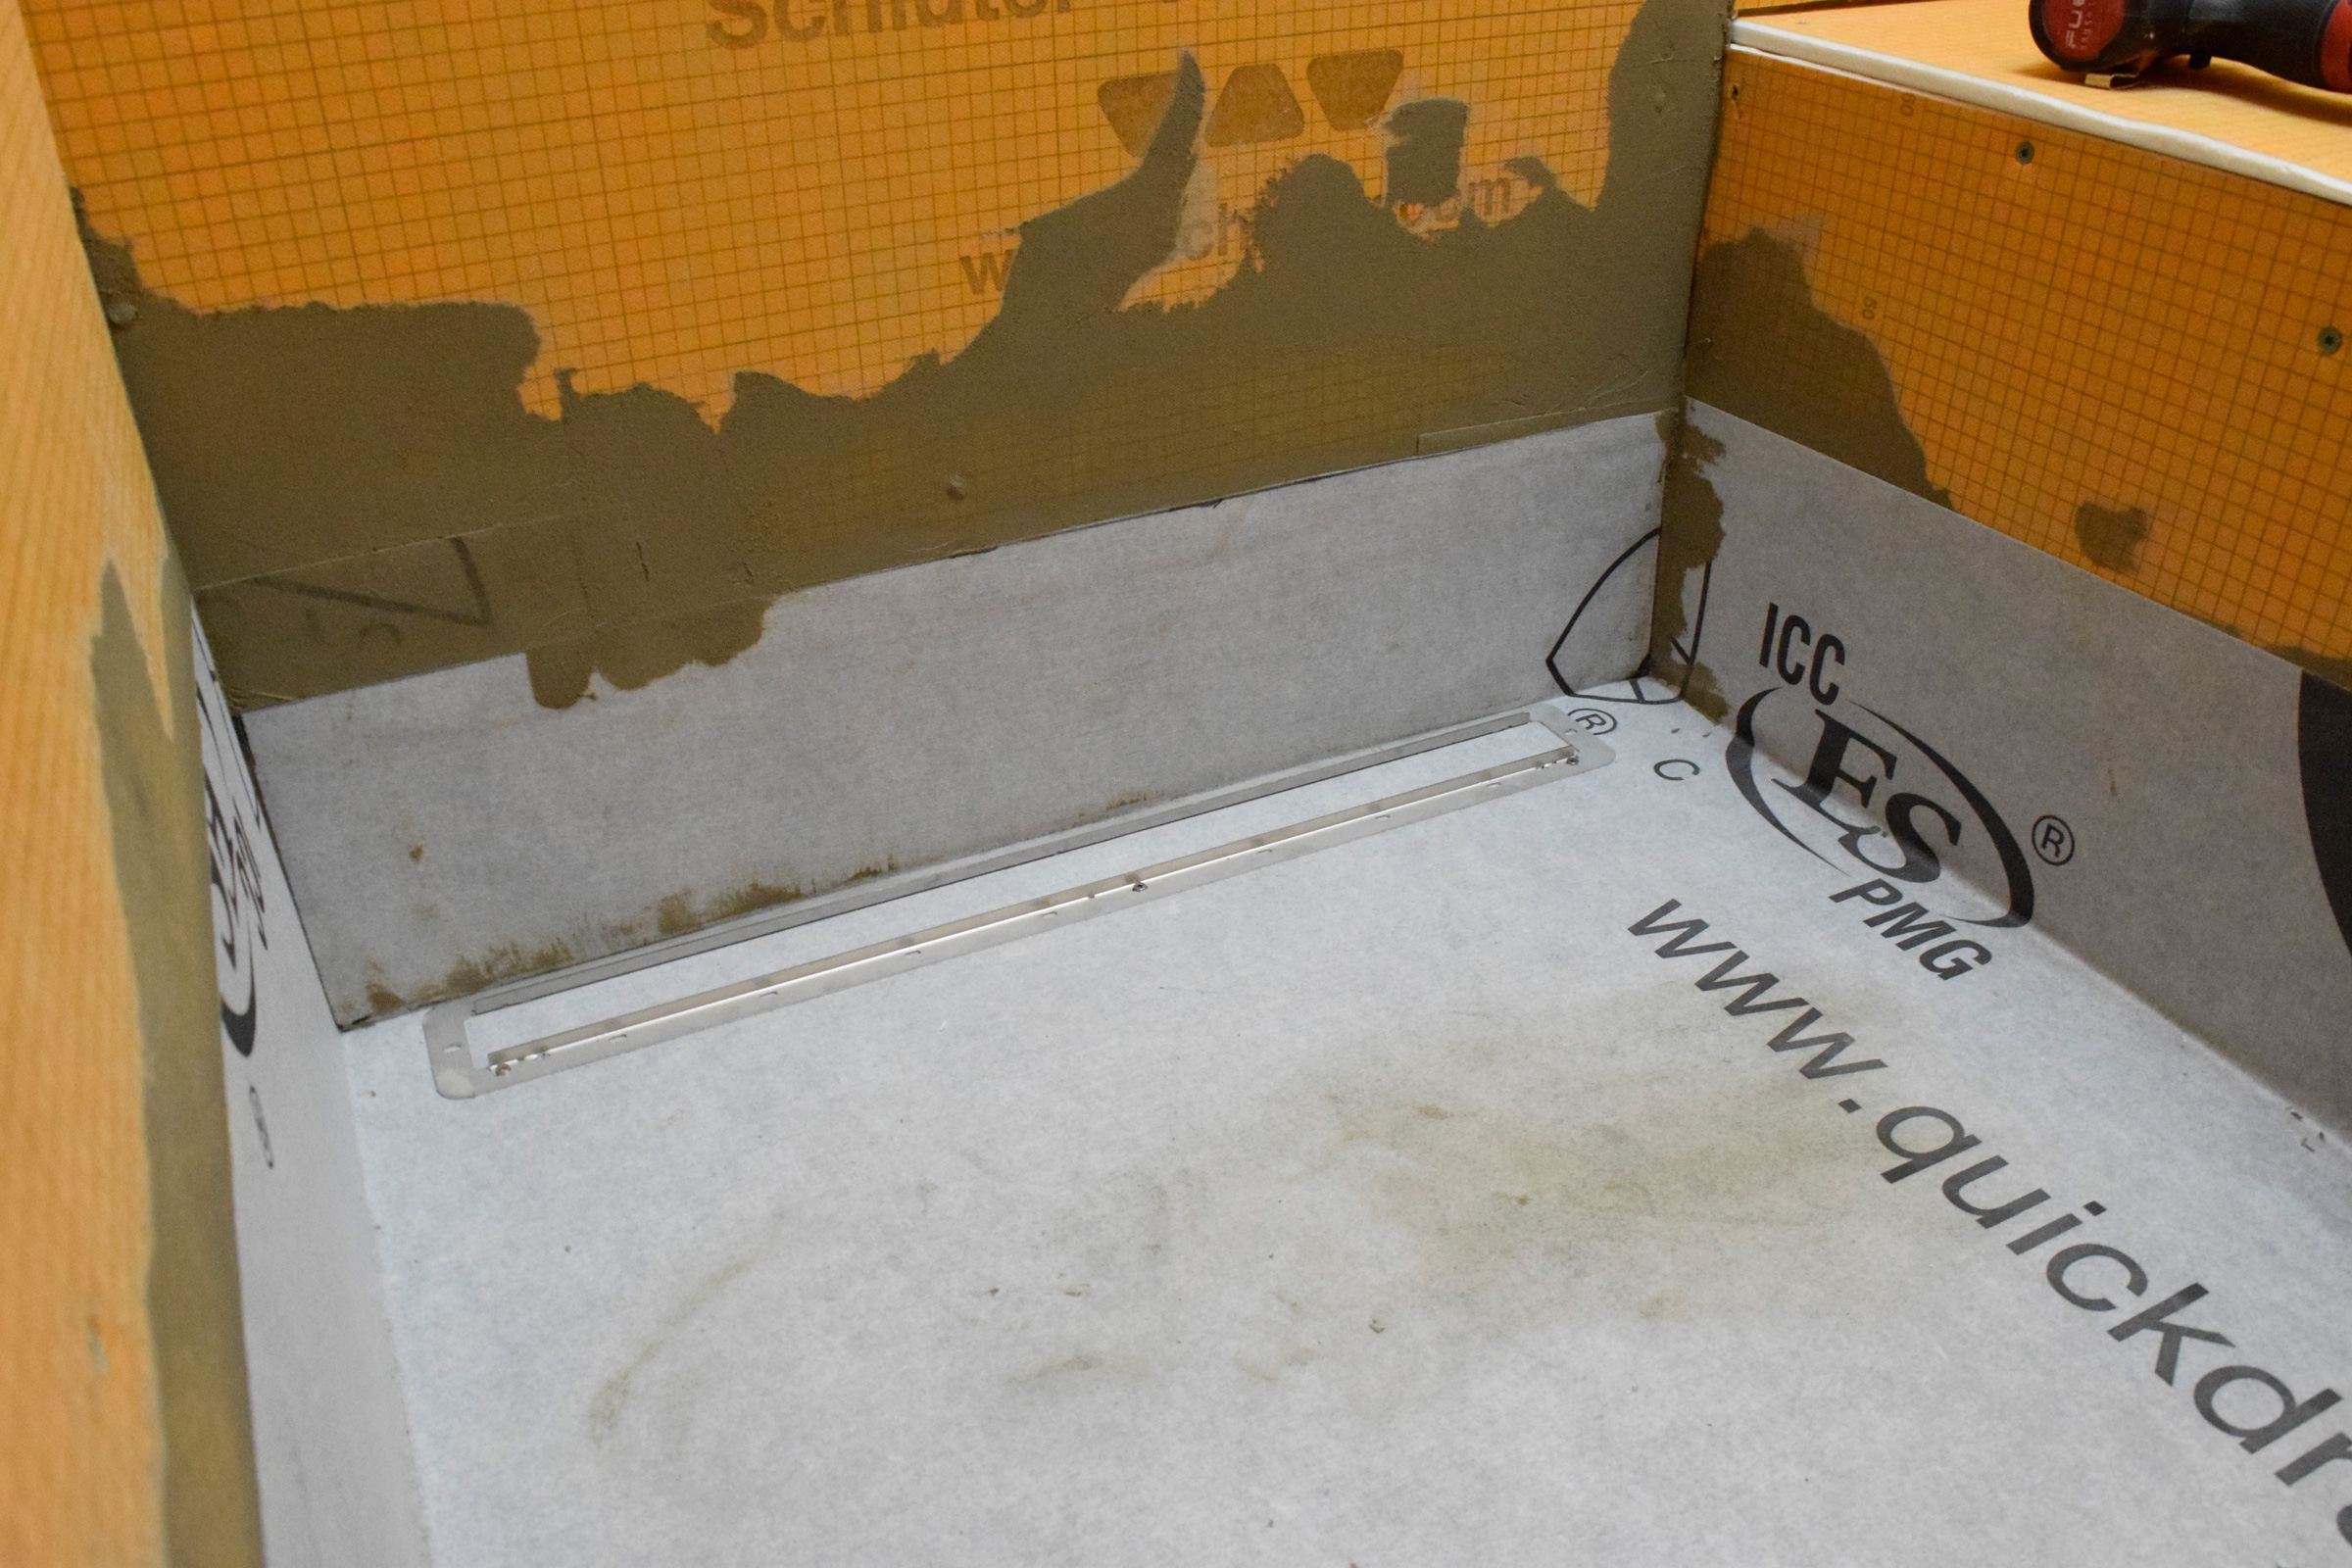
1. Sheet Membrane Waterproofing
Sheet membranes are synthetic materials applied underneath tiled surfaces to prevent water penetration. Sheet membranes can be made of PVC, CPE, or fabric.
The Oatey PVC Shower Pan Liner is a flexible, economical liner designed to provide a waterproof seal to tile shower bases and other concealed waterproofing applications.
Made of abrasion-resistant PVC material for long-lasting use, it is marked on the back in 6-inch increments to allow for easy measuring and trimming.
This kit also includes two Oatey PVC Dam Corners—preformed, flexible corners designed to seal the junction of the curb and door jamb. To install dam corners use Oatey X-15 bonding adhesive for PVC and Oatey Weld solvent cement for CPE material.
Pros
● It is very durable and reliable when installed correctly.
● Cost-effective.
Cons
● Seams between sheets require precise installation for effective waterproofing.
● Requires additional steps, such as a sloped mortar bed underneath and another layer of cement above the sheet before tiling.
● Multiple layers can also add height to the shower floor, which may not be suitable for curbless designs.
● Installers often cut the corners of the liner when it should be folded.
● Requires sealing underneath the sheet to the drain base.
● Penetrating the liner with screws is another common error that can lead to shower failure.
This video provides step-by-step instructions on how to install a shower pan liner.
2. Liquid Applied Membrane Waterproofing
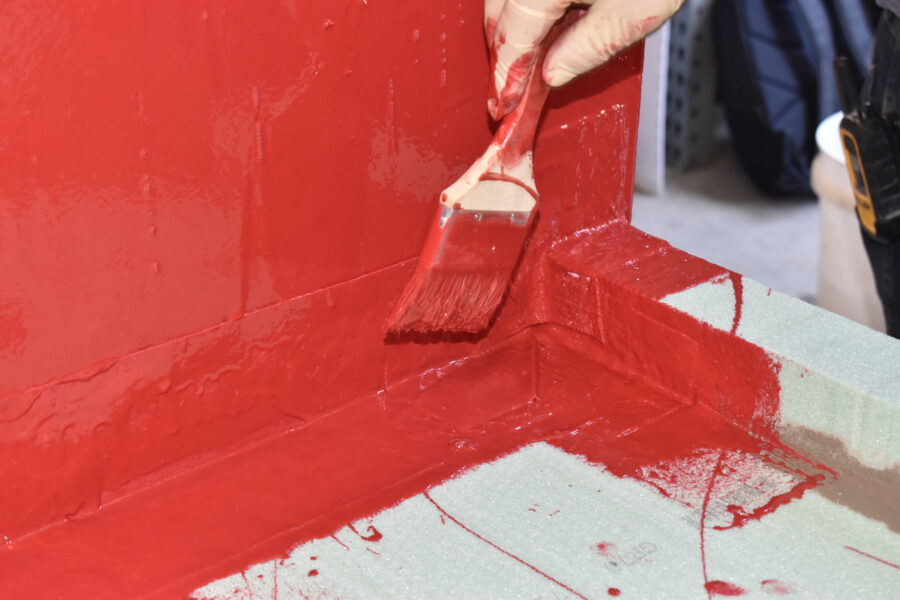
Photo courtesy of Oatey Co.
Liquid-applied membranes are brush-on materials that provide effective waterproofing for tiled showers. Liquid waterproofing is compatible with various bases, like foam boards, cement backer boards, or mortar bases (mud beds).
Pre-made foam bases are also available for easy installation. This method eliminates the need for additional layers of mortar and allows for direct tiling.
Pros
● Easy to use and apply, making it a fast and user-friendly option.
● Doesn’t require cutting or folding and can easily be painted on.
● Suitable for custom designs or odd shapes, as it can be painted on in any shape desired.
Cons
● Requires shower base (sloped mud-bed or backer board).
● Expertise is required for proper application.
● Requires additional time to dry before tiling.
3. Foam Board Waterproofing
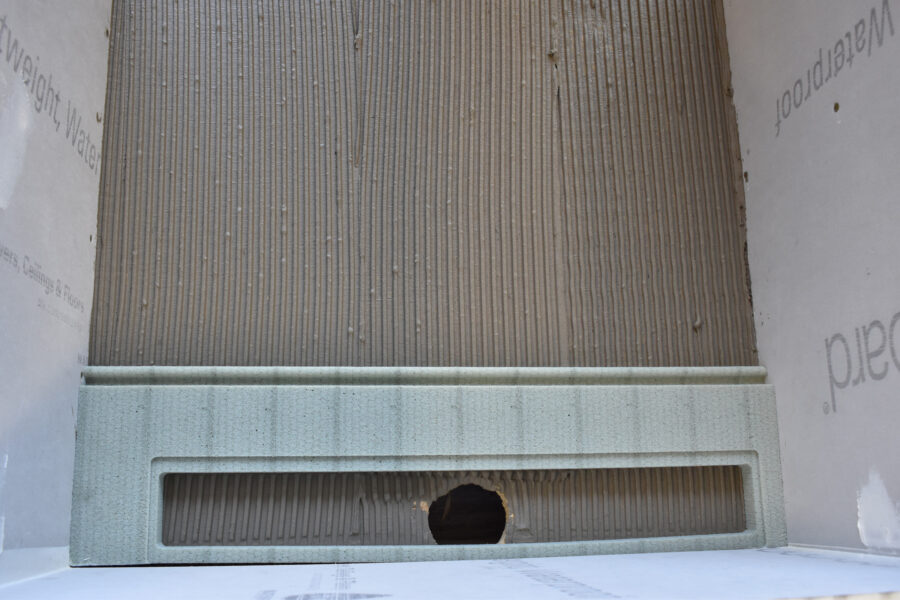
Photo courtesy of Oatey Co.
Foam boards offer a lightweight and easy-to-install solution for shower waterproofing.
QuickDrain PET panels are compatible with QuickDrain shower systems and eliminate the need for a traditional mortar bed, reducing overall installation time and labor costs. Unlike conventional, pitched mud beds constructed over two days, installers using the QuickDrain PET shower panels and waterproofing system (liquid or fabric sheet) can complete a shower modernization job in less than a day.
QuickDrain PET shower panels affordably accommodate finished shower dimensions between 32 and 72 inches with an interlocking design that can be quickly and easily modified to any size or shape directly on-site. Site-sizable pan systems enable installers to contend with a full range of rough-in configurations, including above-the-floor, flush or at-the-surface, and through-the-floor or depressed waste connections.
Lightweight yet durable, these pans are sustainably made with 100% recycled plastic as part of QuickDrain’s commitment to minimize its environmental footprint. An advantage for architects and specifiers is that these recycled components may make an installation eligible for LEED certification points.
Pros
● Time-saving installation.
● Eliminates the need for a traditional mortar bed.
● Most foam boards are site-sizable.
● Easy to work with and cut on-site.
● Pre-sloped.
● Can be an environmentally friendly option.
Cons
● More costly than other methods
● Requires an additional layer of liquid or fabric waterproofing
This video provides a step-by-step demonstration of how to install QuickDrain PET Panels in a linear drain shower.
Waterproofing Best Practices
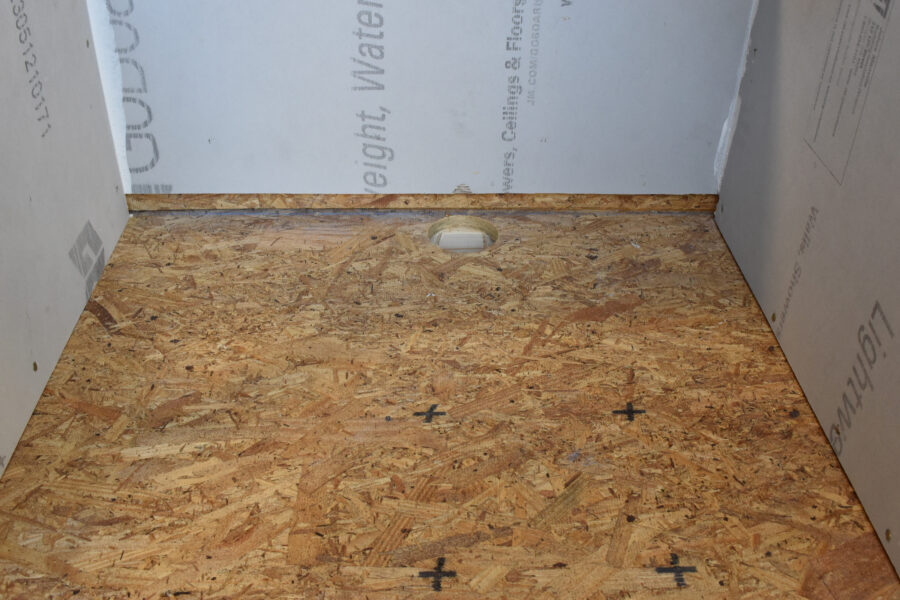
Photo courtesy of Oatey Co.
Adequate Structural Support of Subfloor: Ensure the subfloor is defect-free and meets TCNA (Tile Council of North America) standards to avoid instability and potential failure. Proper subfloor support is crucial for the effectiveness of a waterproofing membrane.
Waterproof vs. Water-resistant Wall Board: Use waterproof wallboards to prevent moisture intrusion. Water-durable products are insufficient as they allow some water penetration, potentially causing mold and mildew. Follow TCNA guidelines to protect adjacent structures from moisture.
Protecting Weep Holes and Pre-sloping the Floor: Pre-sloping the shower base and proper weep hole protection are vital to prevent water buildup and structural damage. Ensure the drain clamping ring keeps weep holes clear, and use appropriate methods to avoid excess silicone that blocks the weep holes.
With Oatey Perfect Slope you can install a perfect tile shower pre-slope that requires half the mortar and half the time. Perfect Slope Tile Shower Pre-Slope Base can be used where the code requires a slope to be installed beneath the PVC shower pan liner.
Liner Installation: Correctly install liners without obstructing weep holes. Use folded corners or dam corners, and avoid penetrating the liner with nails or screws below four inches from the flood rim.
Flood Testing: Perform a flood test before tile installation to check for leaks. Repair any issues and retest to ensure a leak-free installation.
By adhering to these best practices and selecting the most suitable waterproofing method for your tiled shower installation, architects, installers, and building owners can ensure the longevity, functionality, and sustainability of their projects while minimizing the risks associated with water damage and mold growth.